Step-by-Step Tree Planting Guide for Healthy, Thriving Yard
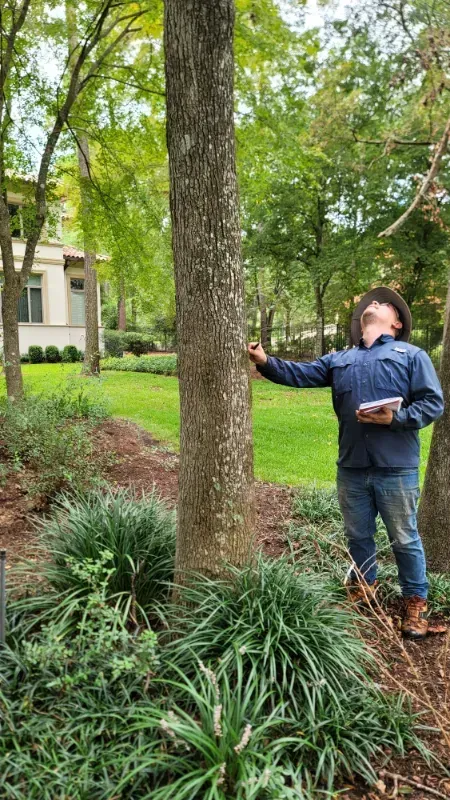
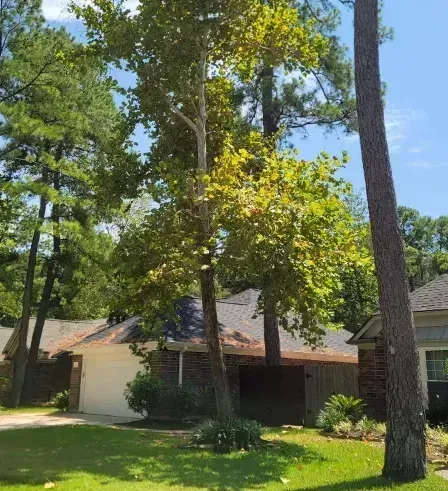
Assessing Your Yard’s Sunlight and Space for Tree Growth
Tree planting starts long before a shovel hits the ground. We always begin by evaluating your yard’s sunlight exposure. Some species need full sun to stay healthy, while others are better suited to shaded areas with moist soil. Matching the right tree to the right light conditions is essential for long-term success.
We also look at available space. A tree that fits today might outgrow its spot tomorrow. Roots can damage sidewalks, and branches may threaten roofs or power lines. Planning for future growth helps ensure your tree remains an asset, not a liability.
Selecting the Perfect Tree for Your Landscape and Climate
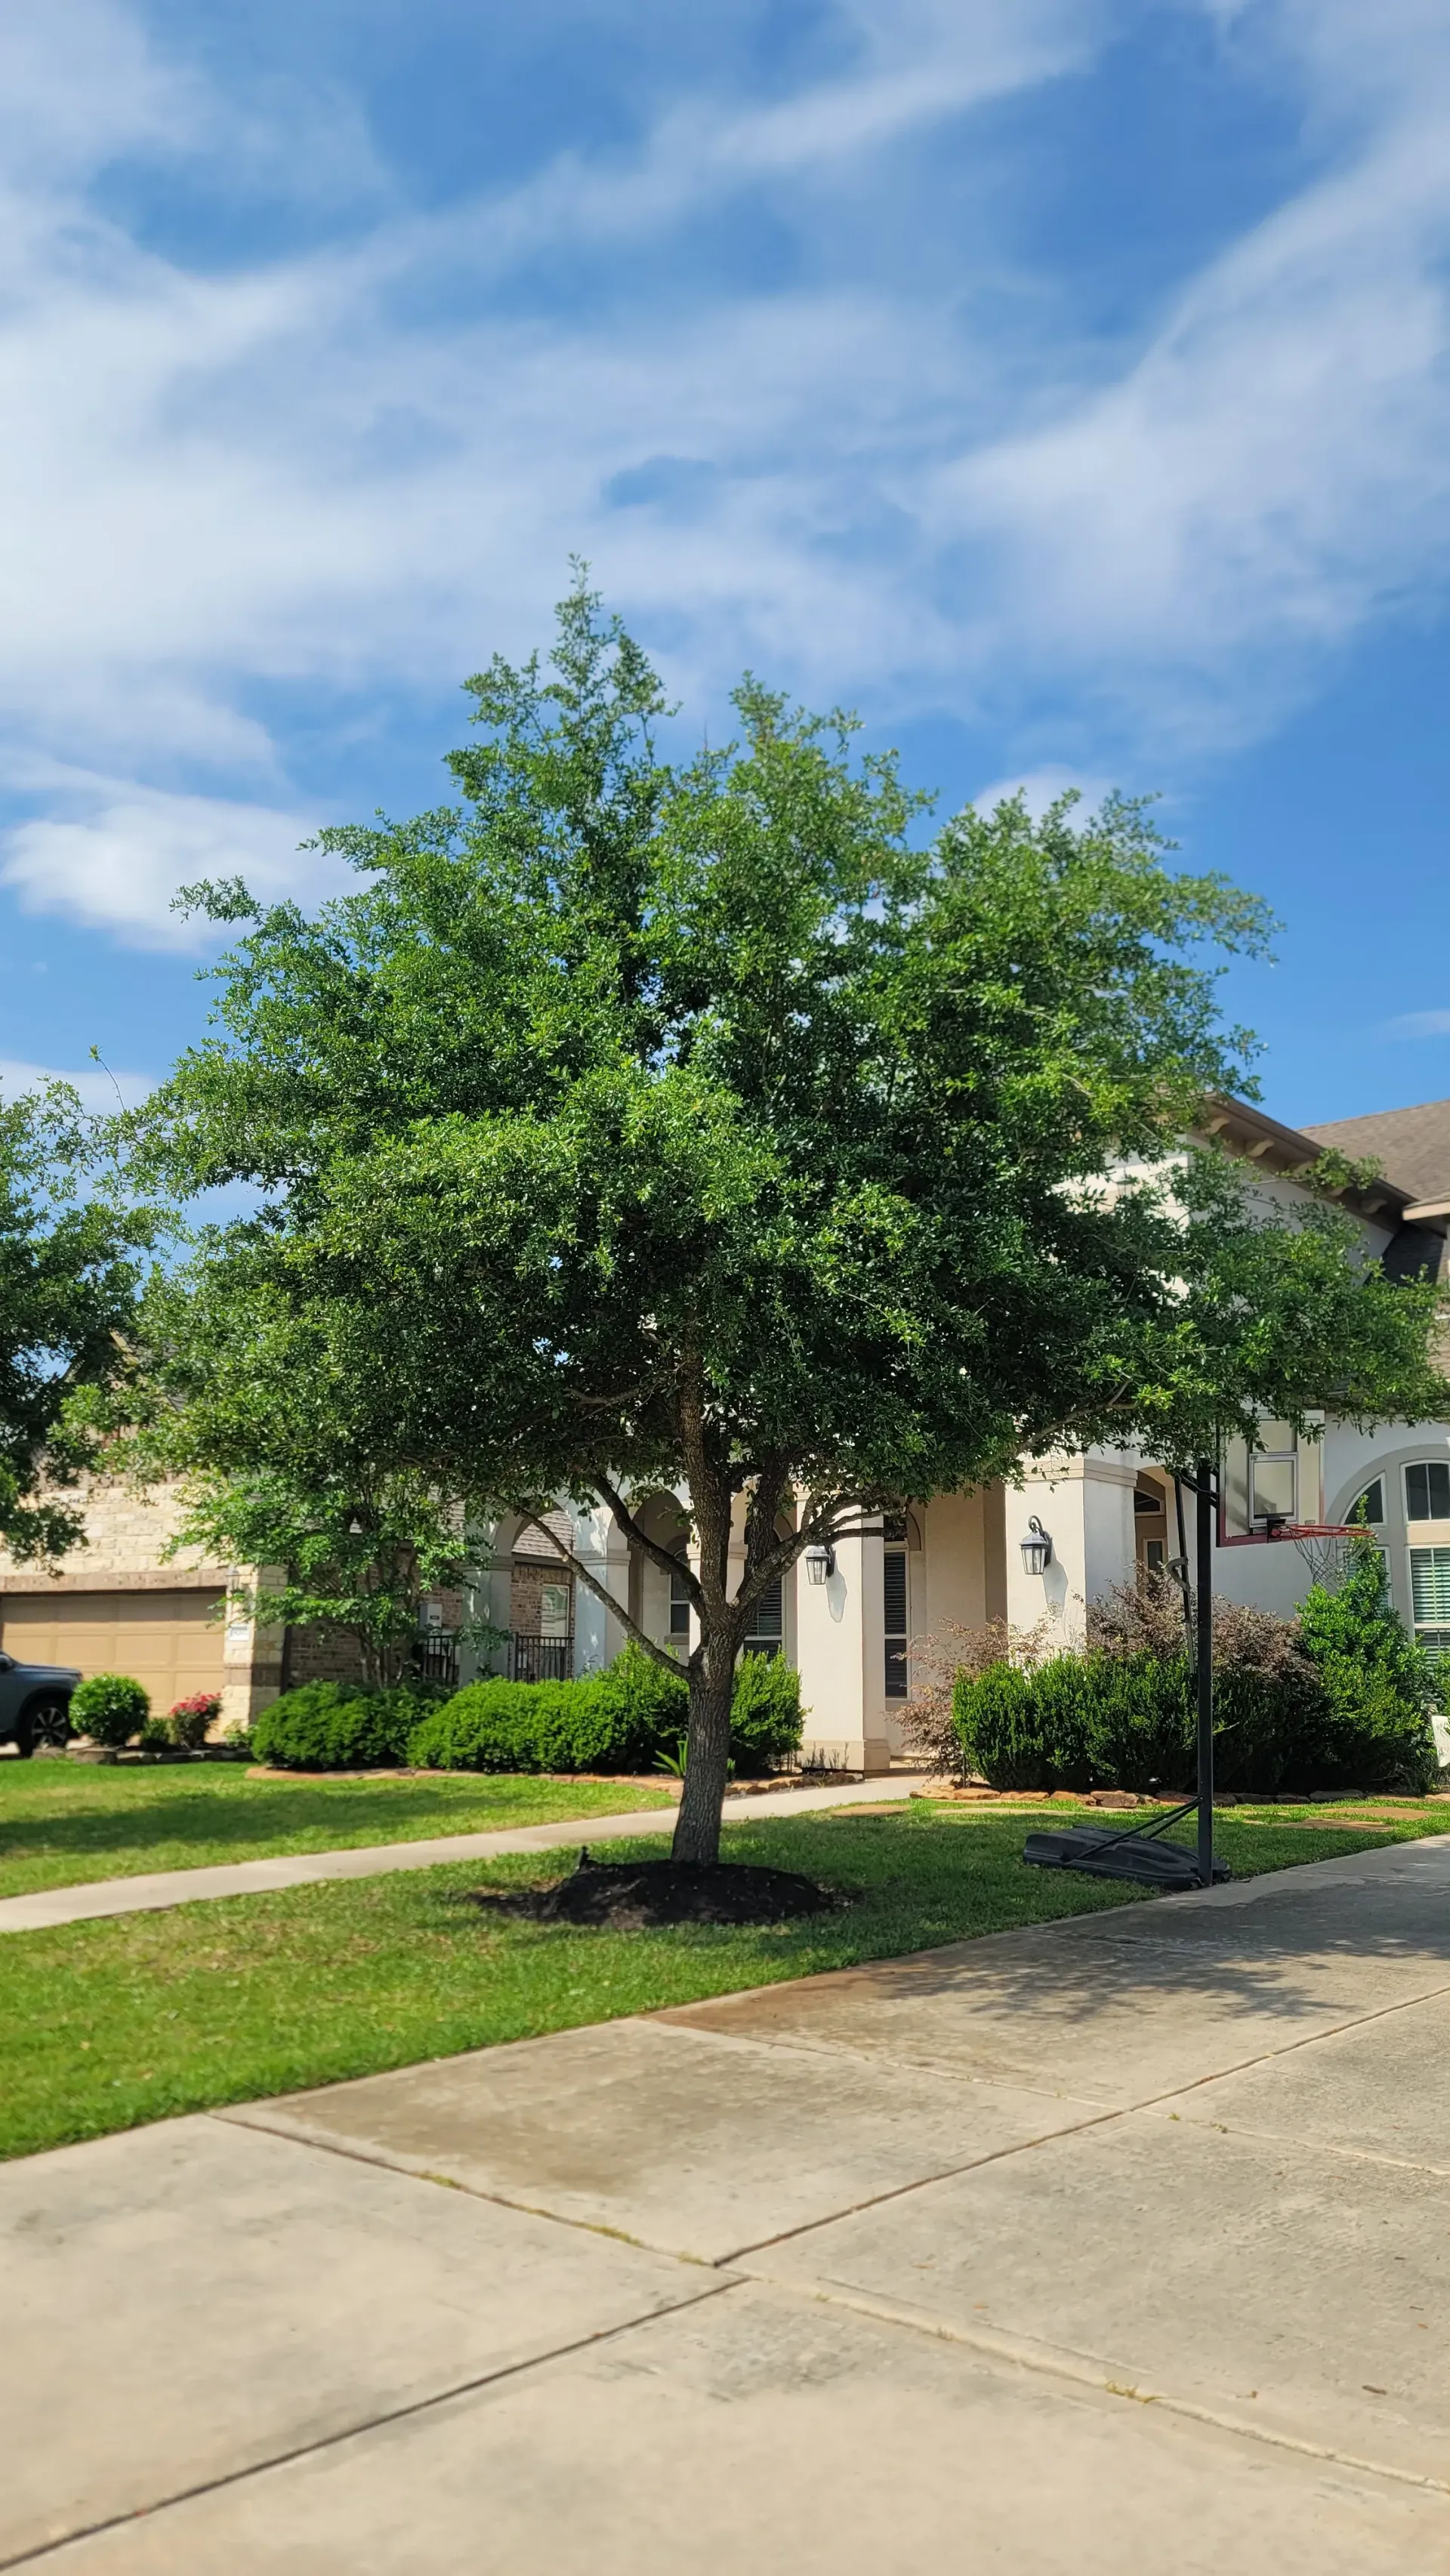
Successful tree planting starts with knowing your environment. Choosing a tree that suits your conditions helps avoid future problems and keeps maintenance to a minimum. Here are some common yard types and a few tree options that tend to do well in each:
- Full Sun, Well-Drained Soil
- Live Oak
- Texas Redbud
- Mexican Plum
- Part Shade, Moist Soil
- American Hornbeam
- River Birch
- Red Maple
- Compact Urban Spaces
- Yaupon Holly
- Eastern Redbud
- Desert Willow
Factor in the tree's mature size, growth pace, and care demands. A little planning now leads to stronger trees and better results in the long run.
Checking Soil Health Before Tree Planting
Strong tree growth begins with understanding the soil beneath your feet. If the soil is too compacted, low in nutrients, or drains poorly, even the best tree won't thrive. That’s why we always recommend testing your soil before planting anything new.
Home test kits can give you useful insights into pH levels and nutrient balance. If your soil is too acidic or alkaline, adjusting it early makes all the difference. Ideal planting soil should be loose enough for roots to spread, rich in organic matter, and hold moisture without becoming waterlogged.
How to Test and Improve Soil Drainage
Drainage plays a critical role in tree health, but it often gets overlooked during planting. Poor drainage can lead to root rot and long-term stress. Fortunately, testing is straightforward. We suggest digging a hole about a foot deep, filling it with water, and timing how quickly it drains.
If water remains after 24 hours, the soil likely retains too much moisture. Depending on the results, we might improve the soil with amendments or recommend a tree species that tolerates wetter conditions. Either way, addressing drainage early supports stronger, healthier root development.
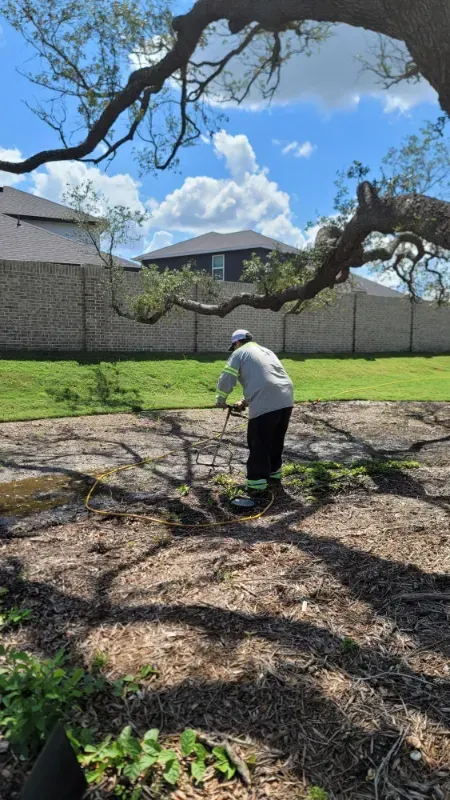
Removing Grass and Weeds from the Planting Area
Grass might seem harmless, but it competes aggressively with young trees for water, nutrients, and root space. Before we start planting, we make sure to clear a wide area around the planting site. A two to three foot diameter is typically a good buffer zone.
We remove all turf and weeds down to the roots. This clean area gives the tree a better environment to establish itself without stress from nearby plants. Creating the right conditions from the beginning helps ensure healthy growth and long-term stability.
Digging the Proper Hole for Your New Tree
When planting a tree, deeper is not better. Instead of burying the root ball, we focus on creating a wide space where roots can expand easily. A good planting hole should be two to three times the width of the root ball, but no deeper than the roots themselves.
Planting too deep can lead to rot and poor oxygen flow. Too shallow and the roots can dry out. We take the time to measure carefully and position the tree properly. It is a simple but essential step for long-term health.
Understanding Tree Spacing and Root Growth Needs
Tree placement is just as important as the planting itself. When we plant too close to buildings, fences, or other trees, we limit how a tree can grow. Roots and branches need space to develop without causing structural problems down the line.
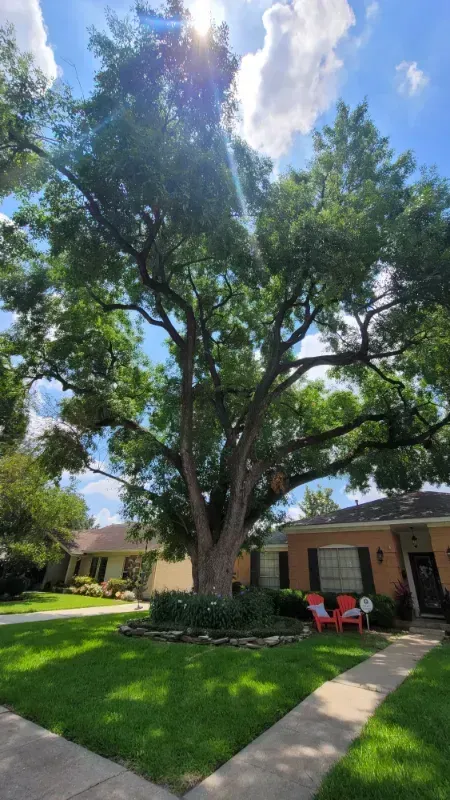
Before planting, we look at the tree's full-grown size, not just what it looks like now. This helps us choose a location where the canopy and root system can expand freely. Proper spacing leads to stronger trees, fewer maintenance issues, and a healthier landscape overall.
Adding Compost and Nutrients to the Soil
After preparing the planting hole, we improve the soil by mixing in organic compost or well-aged manure. This step adds valuable nutrients and helps create the right conditions for strong early root development.
Healthy roots are the foundation of any successful tree planting project. When the soil is rich and balanced, trees adapt more quickly and begin growing with less stress. This means a healthier tree that starts contributing to your landscape sooner, whether through shade, curb appeal, or long-term value.
Setting the Tree in Place and Backfilling Correctly
Place the tree in the hole, ensuring the root flare is slightly elevated above the soil to keep the trunk dry and allow the roots to get the air they need. Once the tree is upright, we backfill with care, pressing the soil gently to eliminate air pockets without compacting it too much.
At Nature’s Restore, we understand how important this step is to long-term tree health. Taking the time to position the tree correctly helps it establish faster and grow stronger. A well-planted tree is much easier to care for in the years ahead.
Watering and Mulching After Tree Planting is Complete
Right after planting, your tree needs focused care. Start with a slow, deep watering to soak the root zone. Follow up by covering the base with 2 to 3 inches of mulch. Ensure there's a gap between the trunk and mulch to stop moisture from collecting and causing decay.
At
Nature’s Restore in Humble, TX and other surrounding areas, we guide homeowners through every step of tree planting. From soil prep to aftercare, we’re here to help your trees thrive and grow strong. Proper tree care is essential for long-term success. Call us at
281-788-0743 for expert assistance with your next tree planting project.